
The Process of Installing Insulation for Your Home | A Step By Step Guide to Home Insulation Installation in Wellington
In this article, we discuss what’s actually involved in the insulation (or insulation top-up) process from start to finish, the benefits of having roof/ceiling and underfloor insulation installed in your home, and how much insulation typically costs for a house in Wellington.
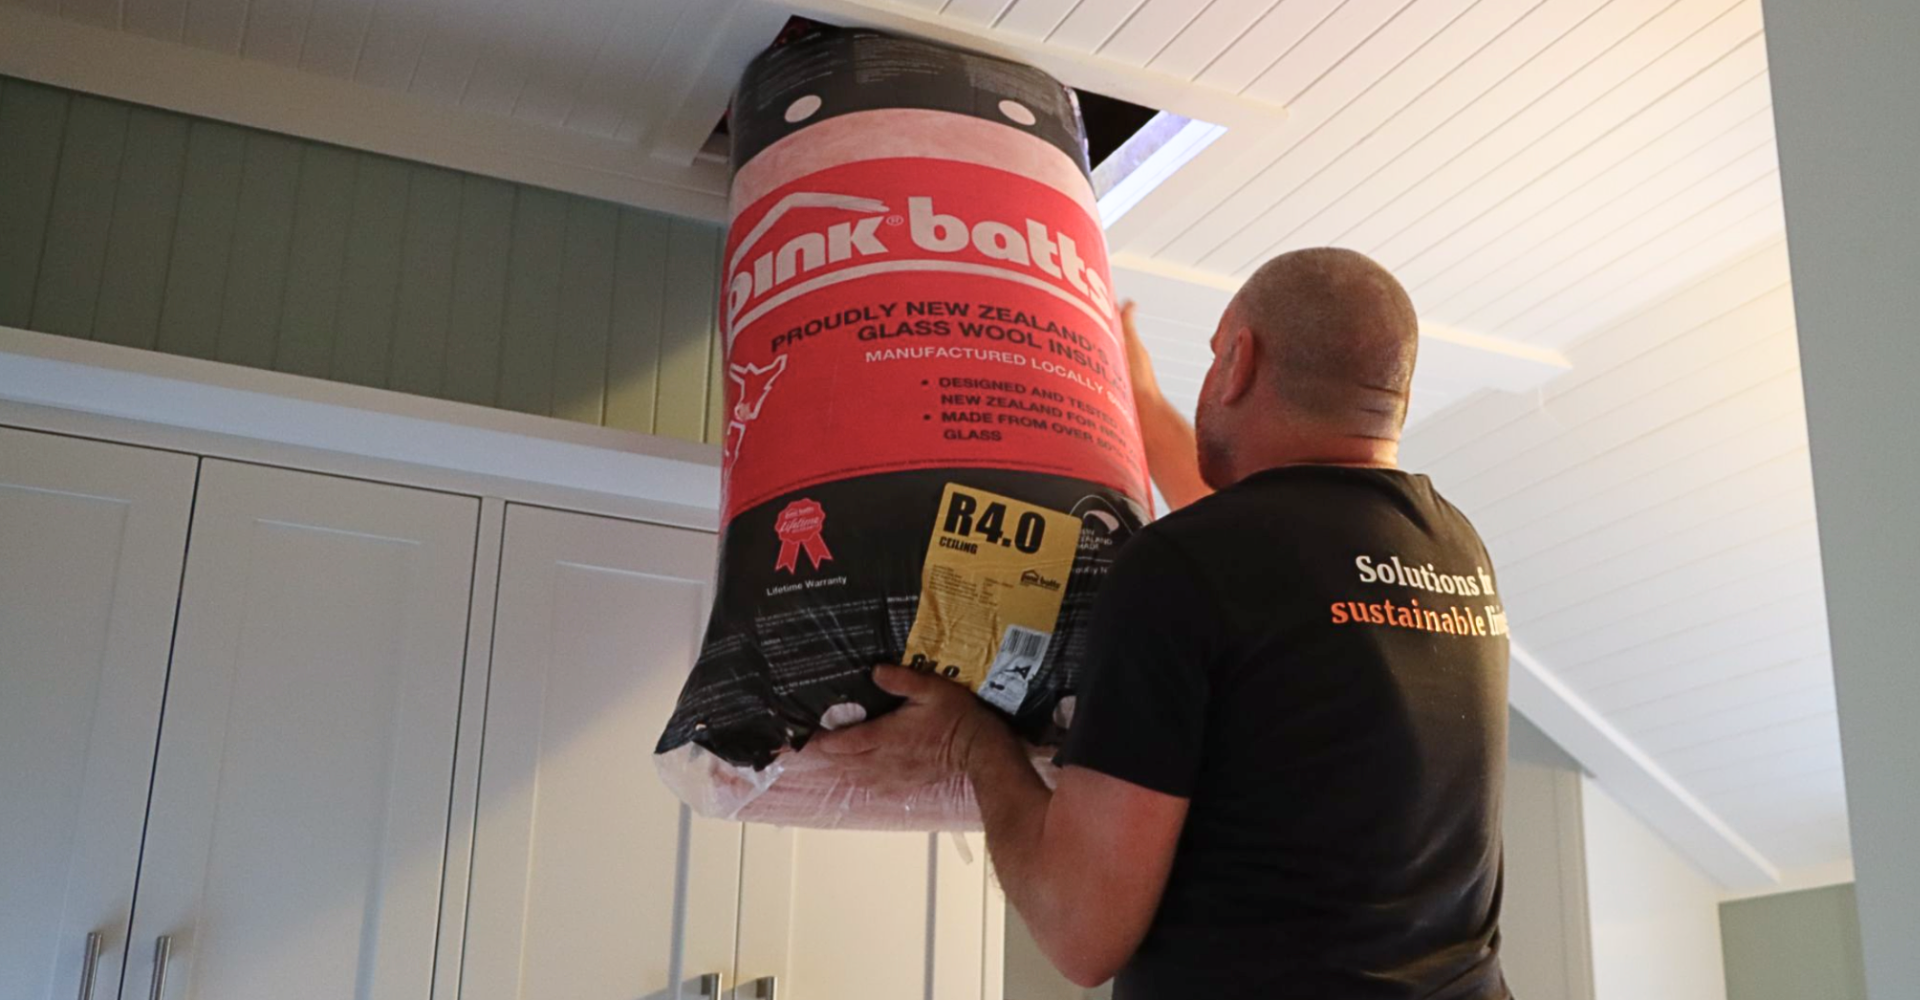
If you’ve ever wondered what actually happens when our team of installers arrives to insulate your home, you’re not alone. Many homeowners know insulation is important, but the end-to-end process itself can feel a bit mysterious. In this article, we discuss what’s actually involved in the insulation (or insulation top-up) process from start to finish, the benefits of having roof/ceiling and underfloor insulation installed in your home, and how much insulation typically costs for a house in Wellington.
Step 1: We Assess Your Home’s Insulation Needs
Before any insulation is installed, the first step is a thorough home assessment, which Sustainability Trust offers free of charge. Our experienced assessors will look at your ceiling/roof and underfloor to see whether insulation is already there and where insulation needs to be installed to either cover gaps, top-up thinning layers or insulate bare areas from scratch. Our assessors can also assess your home’s suitability for a ground vapour barrier, which is a plastic sheeting that covers the soil underneath your house. These work well in combination with insulation, as they stop moisture from rising up through your floors, making sure your home is not only warm, but also dry.
Older Wellington homes, or homes that haven’t changed ownership in many years, often have outdated insulation—or sometimes none at all. Our assessors can check how thin or patchy any old insulation is and quote for a ‘top-up’, which is basically a new layer of insulation covering the old one. Your roof and floors are about to get a cosy upgrade!
Step 2: Choosing the Right Insulation Products
Next up: picking your insulation type. Our expert team carries a range of insulation sizes from trusted local brands such as Mammoth and Pink Batts. They will be able to guide you through options suited to your home and your budget. Choosing the right product ensures your home stays warm in winter, cool in summer and keeps energy bills in check.
The most popular choices are:
Fibreglass insulation—classic, reliable, and budget-friendly
Polyester insulation—lightweight, super warm, eco-friendly (made out of recycled PET plastic) and super easy to handle
Step 3: Paying your deposit and preparing the Installation Areas
Before the fun part begins, you first need to accept your quote by paying a 50% deposit and booking in a time with our installation team. Your assessor will advise you of any areas that need access cleared, and if required, an access hatch installed. If you’re having a ground vapour barrier installed, you’ll need to make sure the entire area under your home is free of items and debris. Your home needs a clear runway for a snug insulation and water barrier fit.
Step 4: Installing the Ceiling and Underfloor Insulation
Our team starts with the ceiling. Ceiling insulation is essential because 30–35% of heat loss escapes through your roof. Our installers carefully fit your chosen Pink Batts insulation or Mammoth insulation over ceiling joists, making sure there are no gaps where warmth can sneak out.
Next, the floors get their turn. Cold air under raised timber floors can make your home feel draughty—especially as cold air and damp rises from the ground under the house. That’s where underfloor insulation comes in. Installers secure insulation between the floor joists to keep heat in and cold out, making walking barefoot on winter mornings much more enjoyable.
Finally, if you’ve opted for a ground vapour barrier, our team will install this across the soil underneath your house. They’ll make sure that water does not pool in any places and that the barrier is watertight.
Step 5: Quality Checks and Final Touches
Once all the insulation is in place, our installers perform a thorough quality check. This step guarantees your home is fully ready to enjoy the benefits of professional insulation. Our quality checks include:
Ensuring insulation is evenly placed and snug
Checking for gaps or compression
Making sure all safety and ventilation standards are met
Taking photos of the install as documentation and future reference
Benefits of Ceiling and Underfloor Insulation
Installing ceiling and underfloor insulation isn’t just about comfort, it comes with some great perks:
Improved comfort for warmer winters and, believe it or not, cooler summers
Energy efficiency = lower heating and cooling bills—once your insulation is installed, you’ll find you’re reaching for the heating less often
Noise reduction: great for busy streets or lively families
A healthier home: insulation helps to reduce damp and mould, which is better for your family’s health
How Much Does Insulation Cost in Wellington?
The price of insulation depends on the size of your home, the type of insulation that’s right for your home and the areas being covered. On average, ceiling and underfloor insulation is between $3,000 and $8,000 for a typical Wellington home. Premium products like Mammoth polyester insulation may increase costs slightly, but provide excellent long-term performance.
From start to finish, installing insulation is a straightforward process when handled by an experienced team. By choosing the right products based on unique spaces, we know that Wellington homeowners can enjoy a warmer, healthier and more energy-efficient home.
Keen to learn more about insulation for your home? You can get a free quote from our awesome team by clicking the button below.